
User guide
Configure registration by place
Set requested details, approval, gates, and access times.
Your organization settings and account permissions determine which options are available.
All screens use fictional data. QR images and setup codes are examples and cannot be used to register.
Before you start
Use an Admin account. Confirm gates are mapped to the correct destination before enabling registration.
How the task works
Follow the main steps in order. Where a choice is shown, follow the branch that matches your situation.
- AdminChoose a place
- AdminSet approval and duration
- AdminChoose required additional details
- AdminSave and test as a guest
Steps
Open Settings, then Registration places. Choose the site to configure.
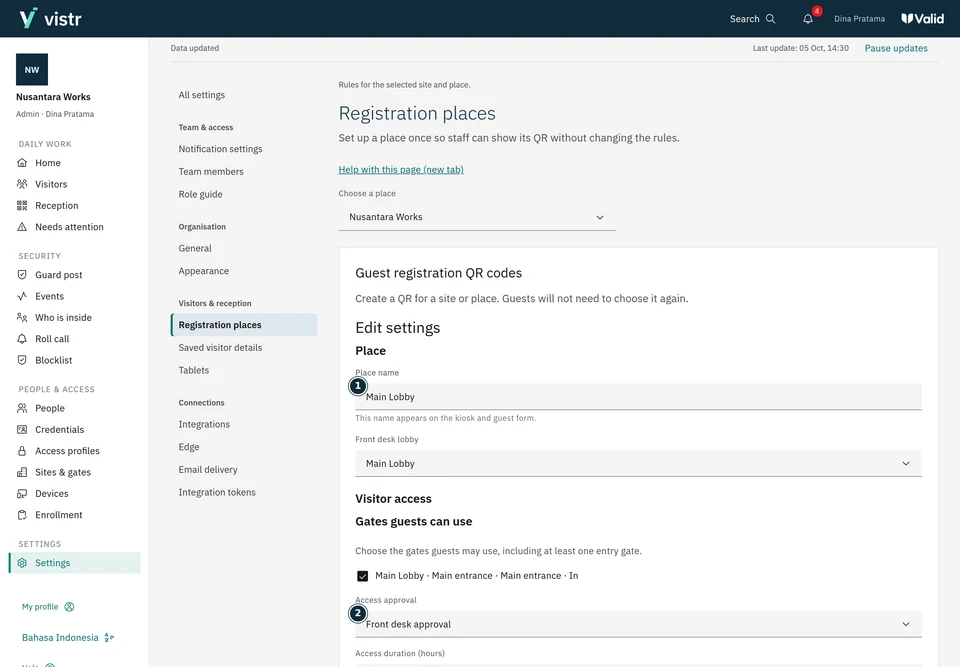
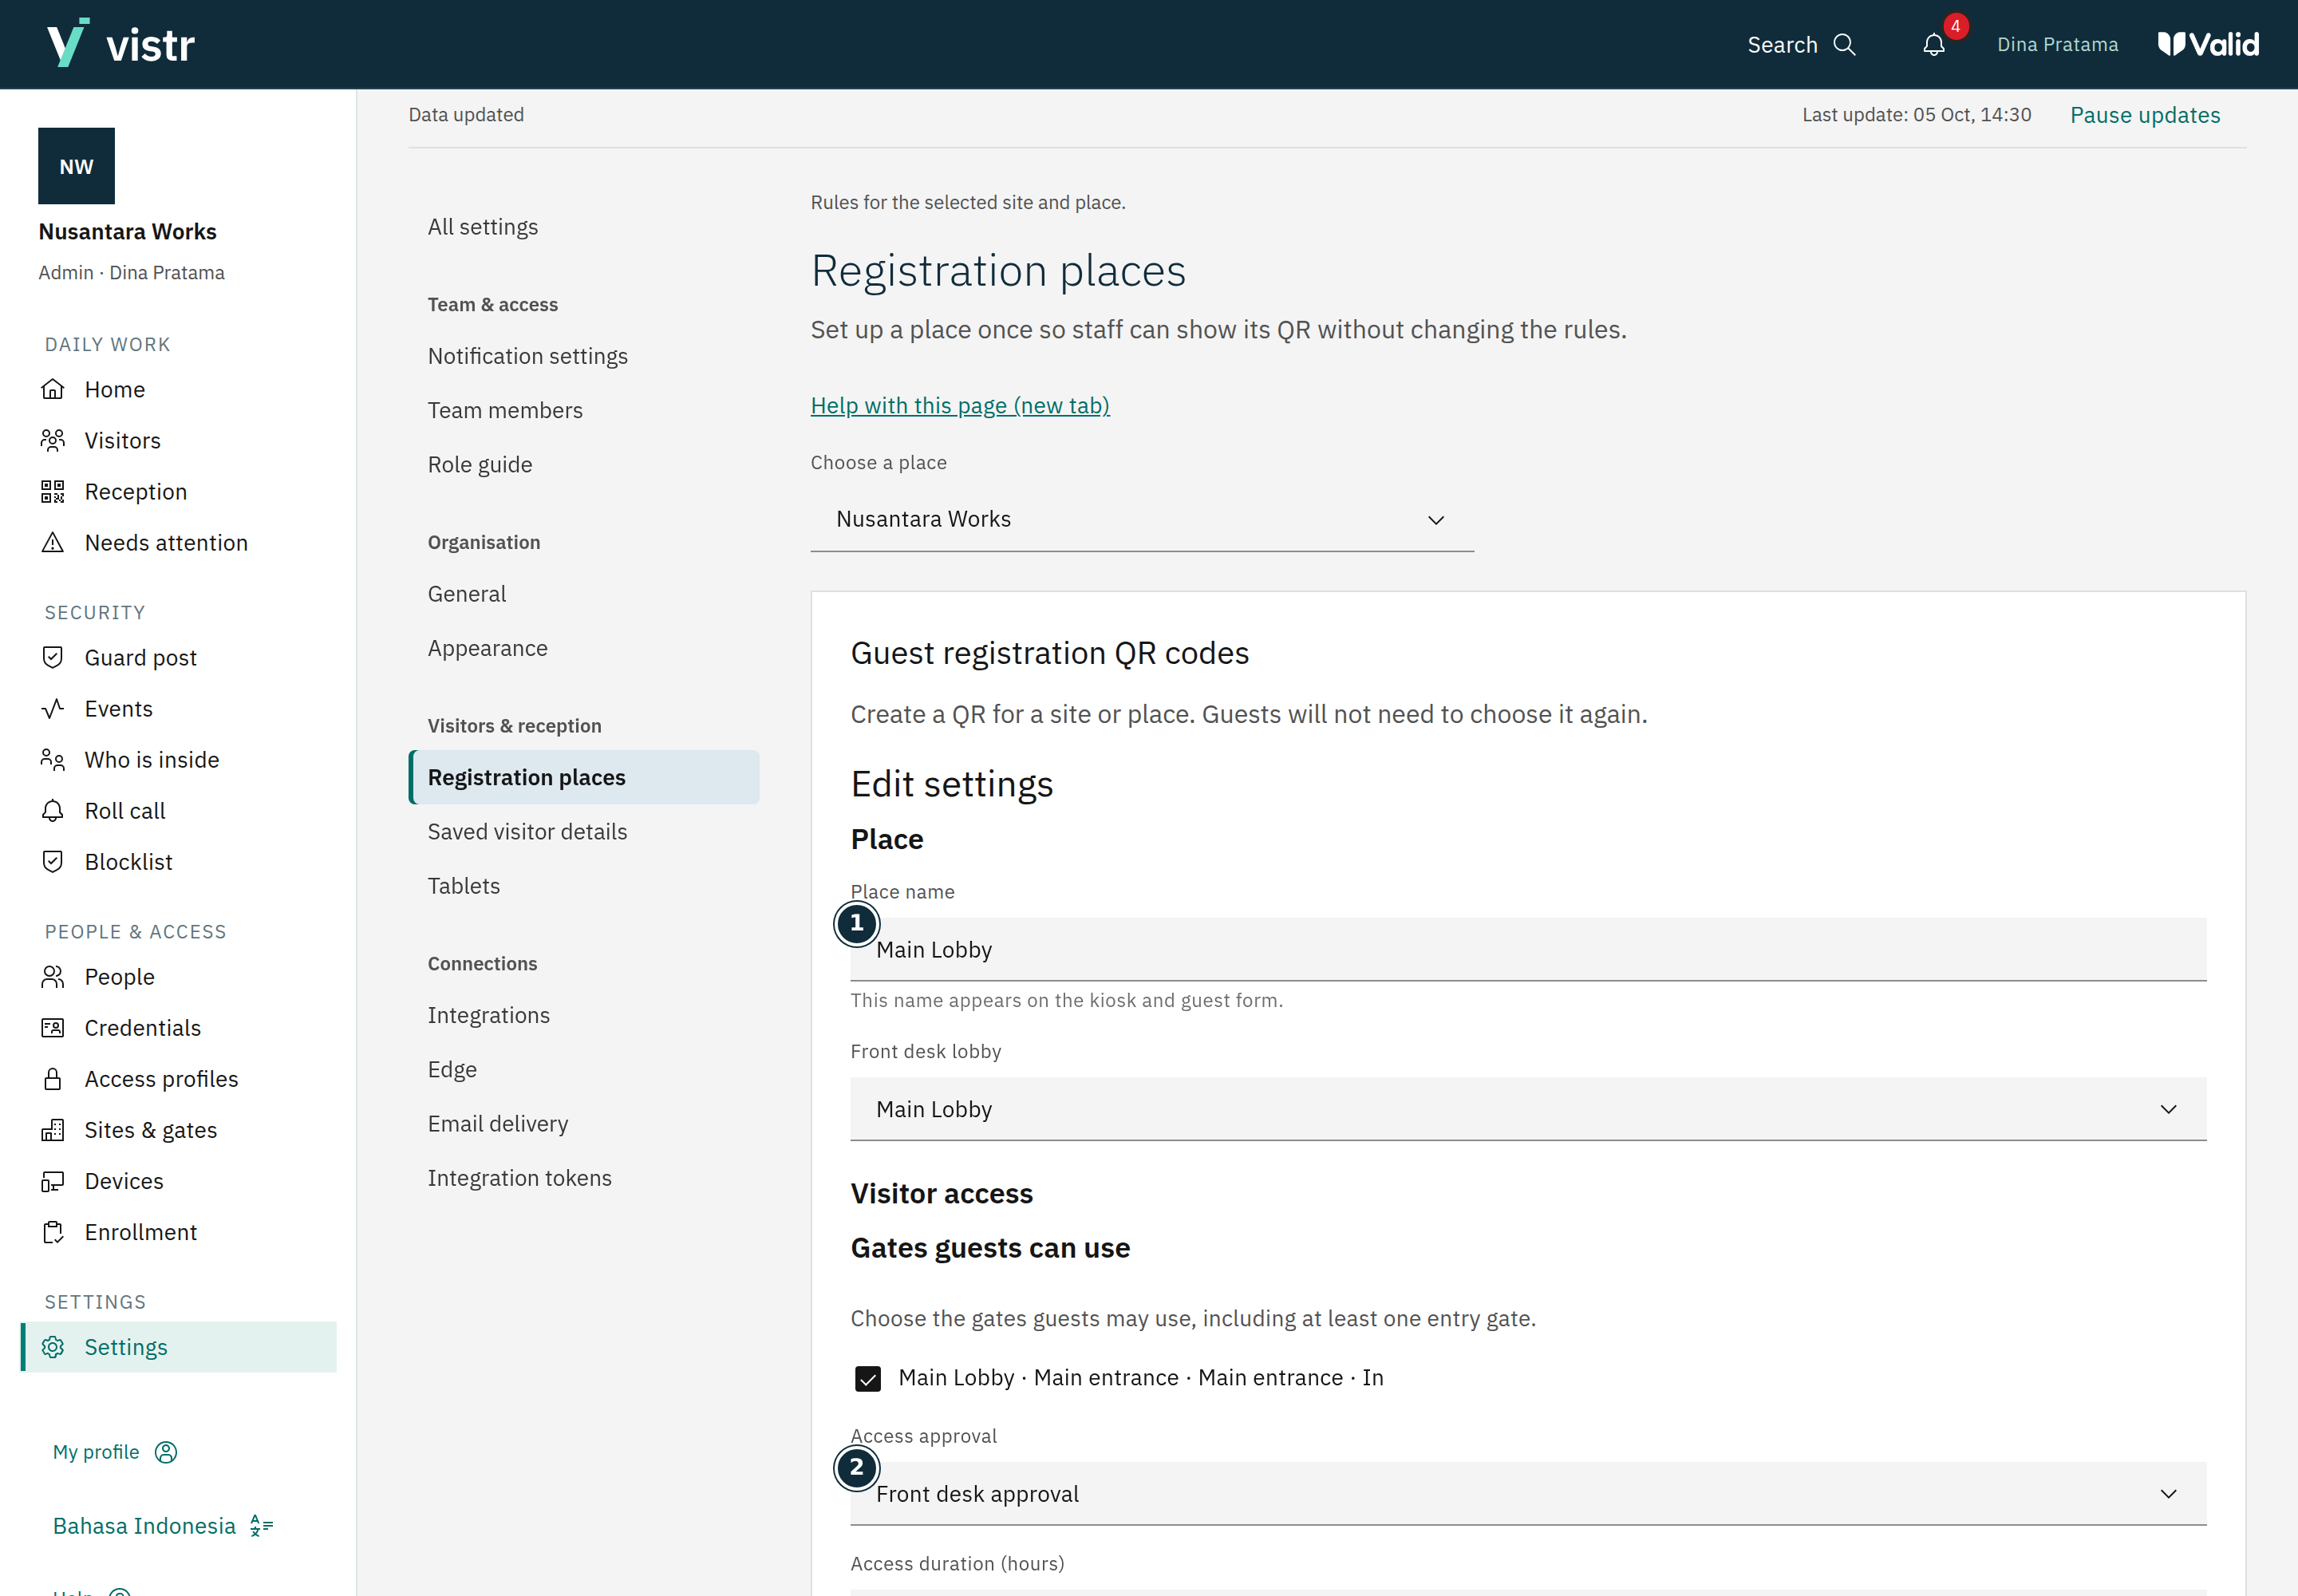
Enter the place name guests will see. Choose gates in that site, including at least one entry or bidirectional gate.
 Enlarge image
Figure 1. Approval and access duration are chosen per destination. - Place name
- Access approval
Sample data · Admin · 2026-10-05 · 2880 × 2000 px
Choose manual or automatic approval. Check access duration and closing time in the site time zone.
 Enlarge image
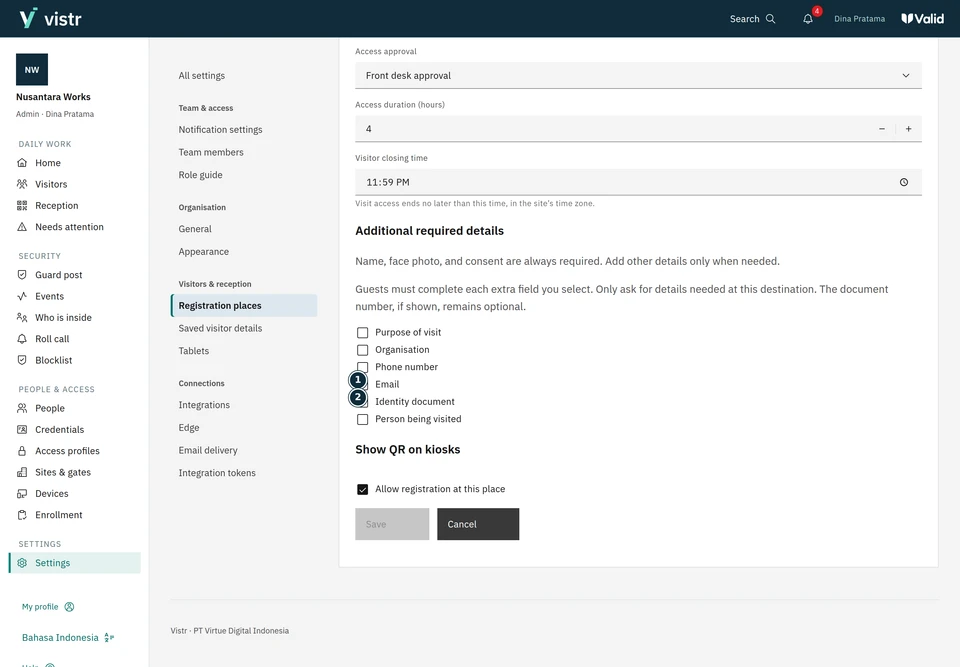
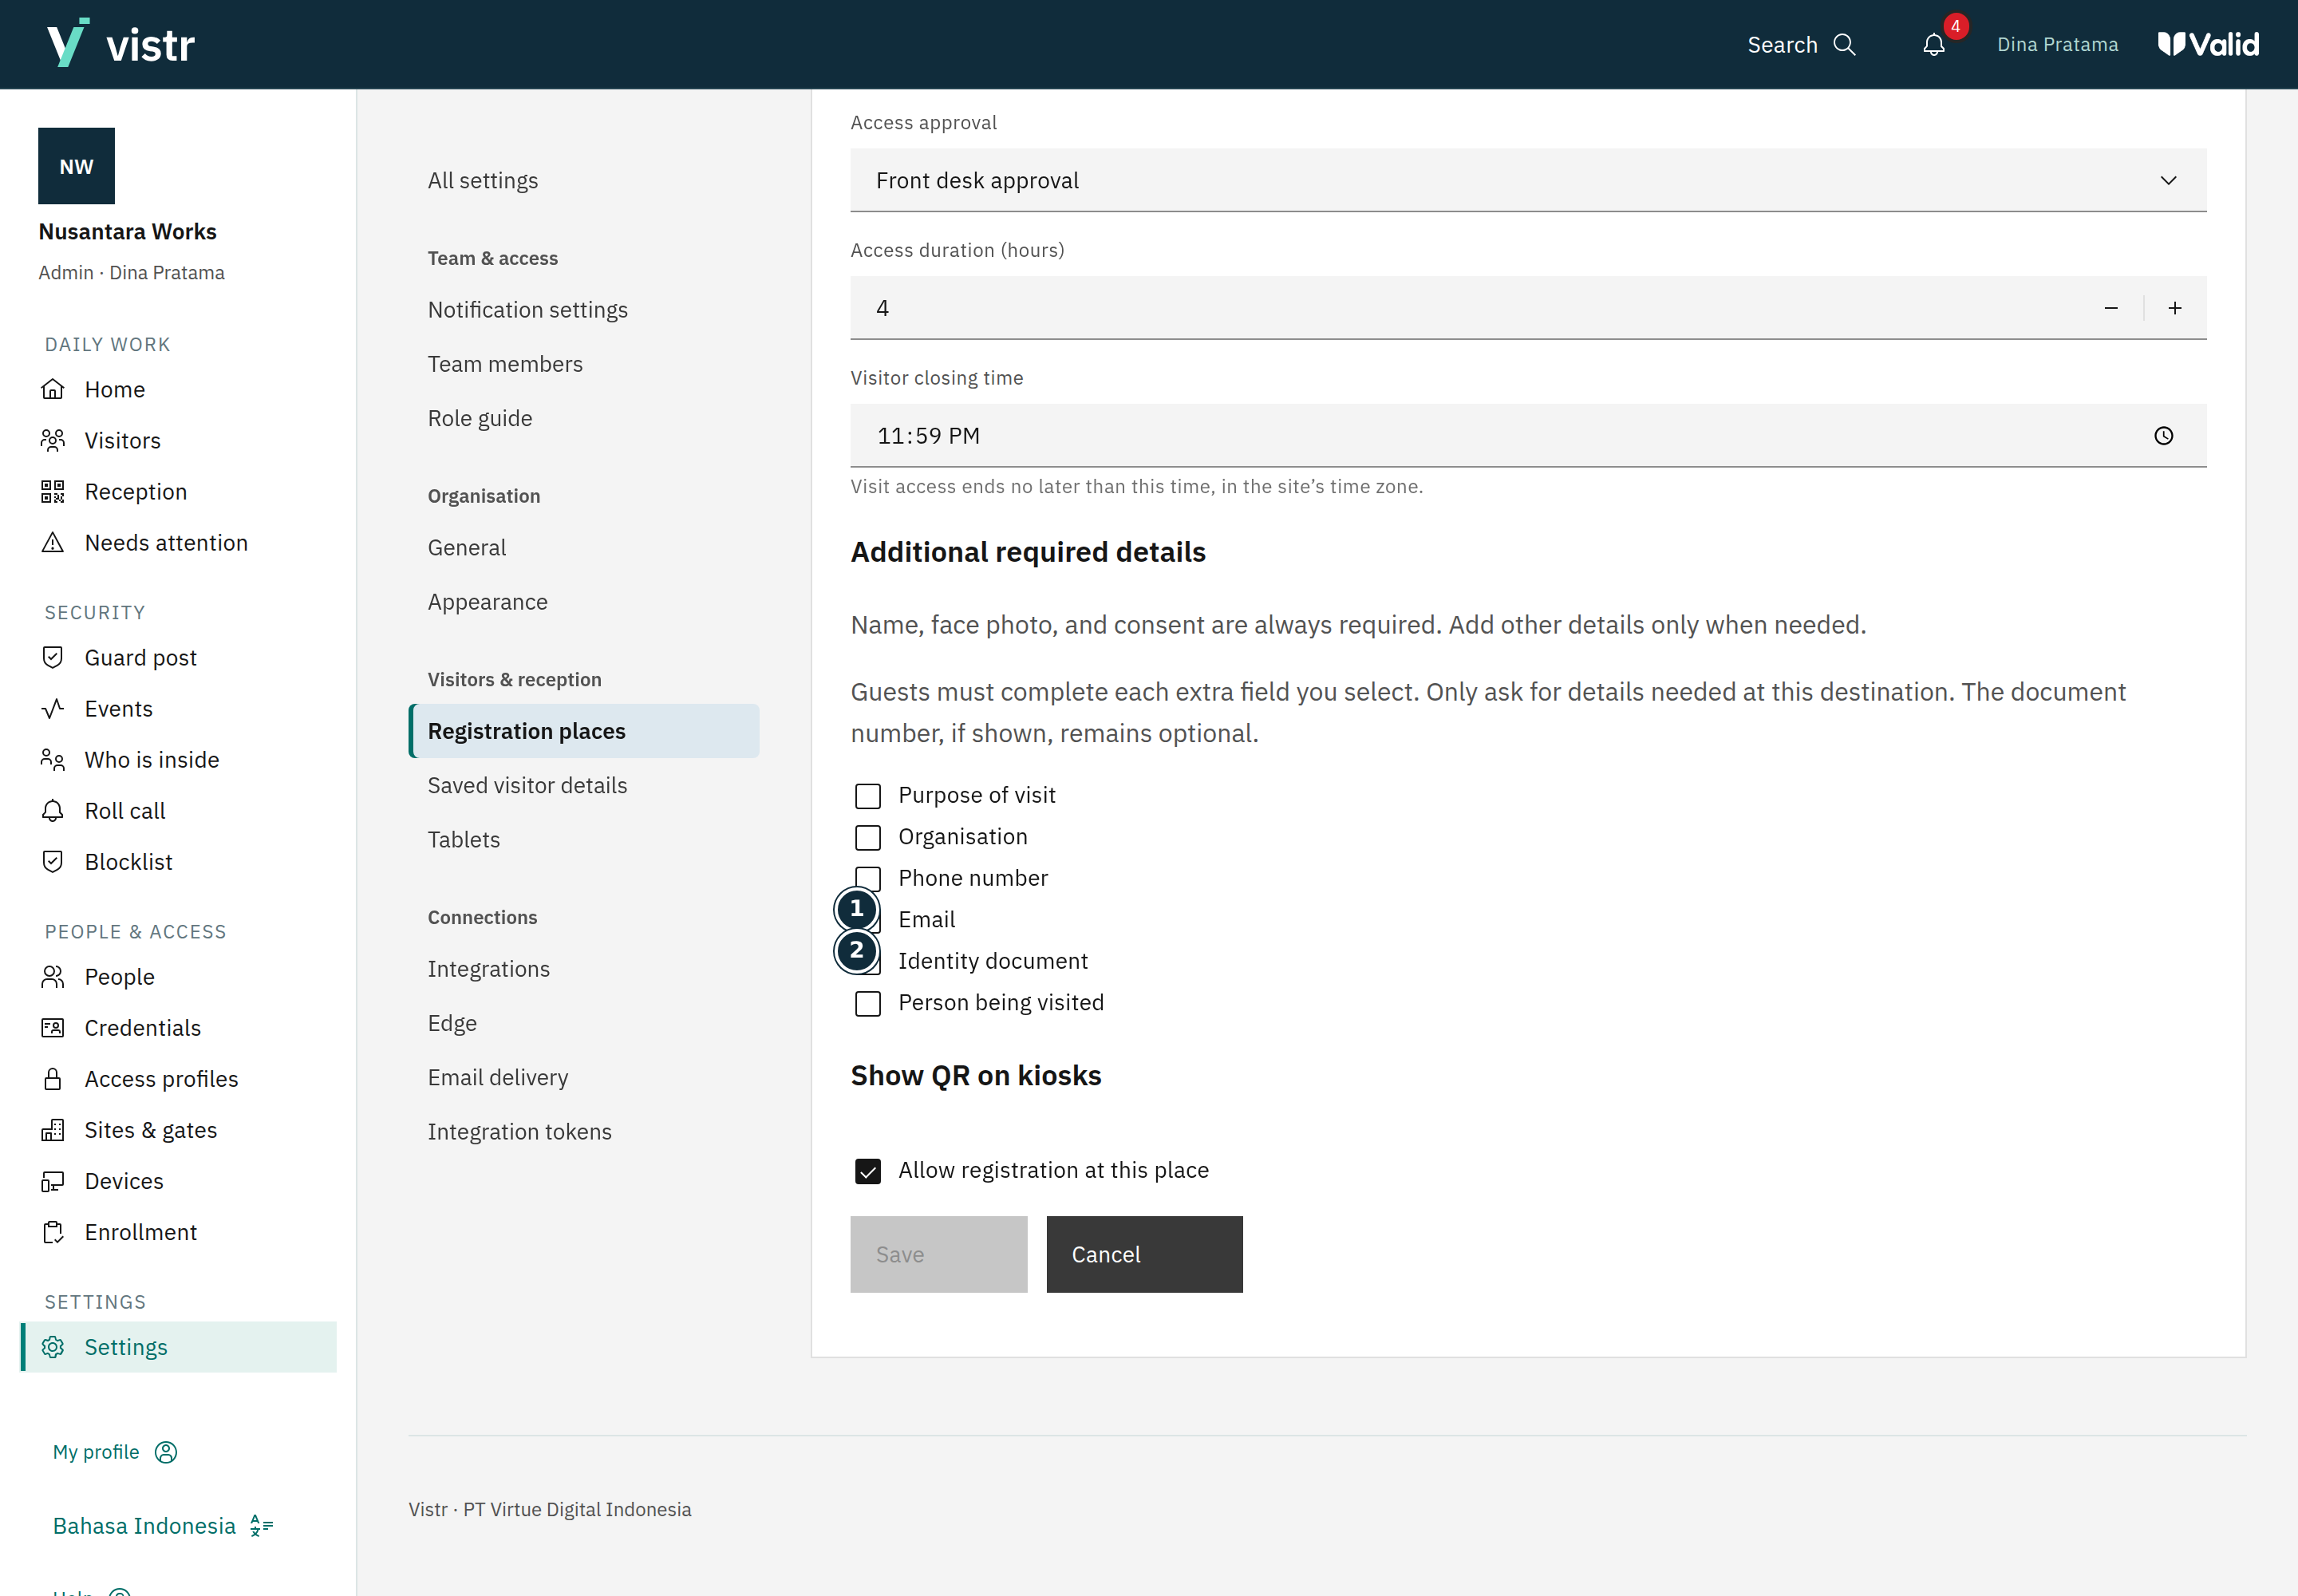
Figure 2. Choose additional fields deliberately to keep the form short. - Identity document
Sample data · Admin · 2026-10-05 · 2880 × 2000 px
Select only the additional details you need, document rules, and the starting mobile country code. Save and inspect the guest form.
What to enter and why
| Field | When needed | Purpose | Example |
|---|---|---|---|
| Approval | Required | Staff review or automatic approval according to the place policy. | Staff review |
| Duration and closing time | Required | Defines the access window; closing time uses the destination timezone. | 4 hours; 21:00 |
| Additional details | Select only when needed | Enabled fields are requested in the guest form. Do not request contact details or documents without an operational need. | Mobile, email, document |
Expected result
Registration forms and rules follow the saved place settings. Check a sample journey after changing them.
If something goes wrong
Guests are asked for too much information
Review Additional details for the relevant place. Disable unnecessary fields according to organization policy.
Selected extra fields become required
Name, face photo, and consent are required in the QR flow. Selected contact, organization, purpose, or host fields become required when shown. The document number can be shown but remains optional in the QR flow.
Starting values and active rules
A new form starts with manual approval, four hours, and a 21:00 closing time; organization limits still apply. The saved place values govern operations, not examples in this guide.